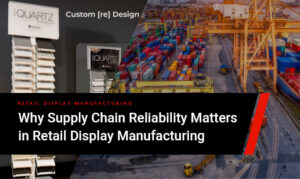
A successful retail display does much more than present a product. It helps capture attention, support the brand message, improve the shopper experience, and perform reliably in the retail environment. But before a display reaches the store floor, it must go through a detailed process of planning, design, engineering, and production.
Understanding how a custom retail display is developed can help brands make better decisions and set more realistic expectations for their retail programs. From the initial idea to final rollout, every stage plays a role in the overall success of the project.
Step 1: Defining the Display Objective
Every custom retail display starts with a goal. In some cases, the objective is to launch a new product. In others, it may be to improve visibility for an existing product line, support a promotional campaign, or create a stronger in-store brand presence.
This stage is about understanding the display’s purpose and the conditions it must meet. That includes identifying the product dimensions, quantity of items to be displayed, retail footprint, expected display lifespan, brand guidelines, and shipping or assembly requirements.
The more clearly these goals are defined upfront, the easier it becomes to create a display that works in both form and function.
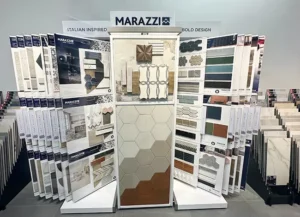
Step 2: Concept Development and Design
Once the project goals are understood, the design process begins. This stage usually includes concept sketches, layout ideas, and early visual direction for how the display will look and function.
At this point, brands and manufacturers begin shaping the shopper experience. How will the display attract attention? How will the products be arranged? What messaging or branding will be included?
How much space is available in the retail environment?
The concept phase is also where creativity and strategy come together. A display needs to be visually appealing, but it also must be practical. It must support the product, fit the store, and align with the expectations of the retailer.
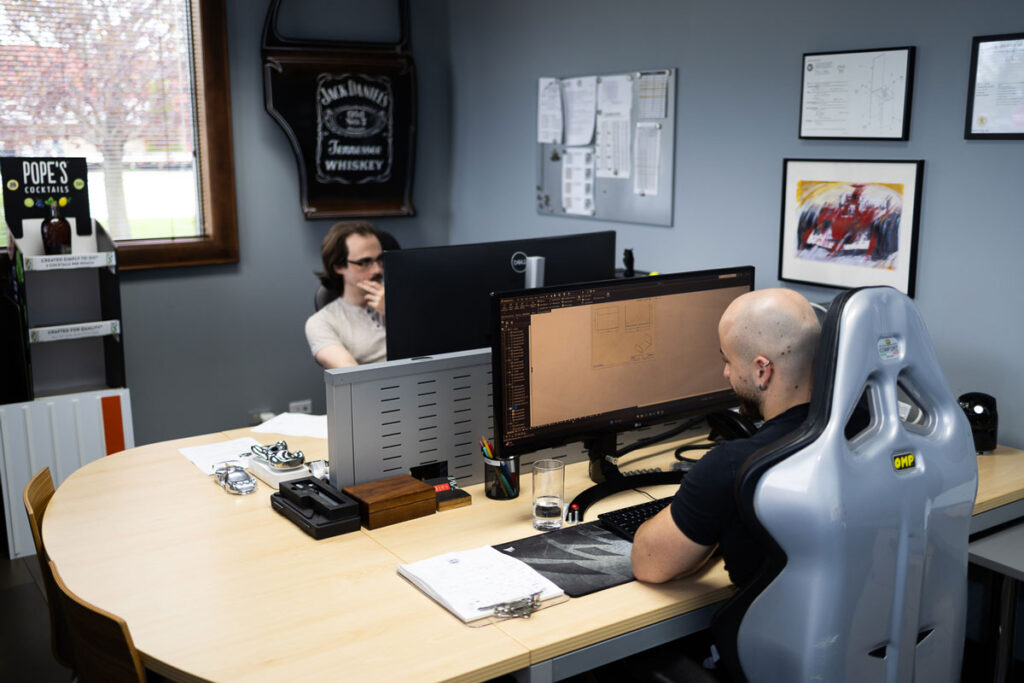
Step 3: Engineering and Structural Planning
After the design direction is approved, the display moves into engineering. This is one of the most important stages because it turns the visual concept into something that can actually be built, shipped, assembled, and used in a retail setting.
Engineering involves defining measurements, materials, support structures, product load requirements, and assembly methods. It also helps identify whether the display needs to be temporary, semi-permanent, or permanent based on the intended use.
A display may look great in a concept rendering, but if it cannot withstand shipping, hold the product securely, or assemble properly in-store, it will fail in execution. That is why structural planning is essential.
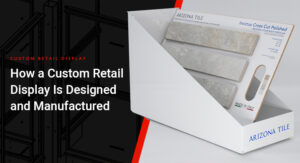
Step 4: Material Selection
Choosing the right material is another major step in the process. Different displays require different materials depending on the product, budget, lifespan, and presentation goals.
Corrugated materials are often used for temporary displays and promotional programs. Wood, metal, acrylic, and plastic may be used for more durable semi-permanent or permanent displays. In some cases, a mixed-material design offers the best balance of aesthetics, strength, and cost.
Material selection affects not only the display’s appearance, but also its performance, shipping weight, production cost, and long-term durability. The right choice helps ensure the display matches both the brand vision and the real demands of the retail floor.
Step 5: Prototyping and Review
Before moving into full production, a prototype is often created. This allows the team to test the structure, review the visual presentation, and evaluate how the display functions in real life.
Prototyping can reveal issues that may not have been obvious on screen, such as product fit, stability, assembly complexity, or visual balance. It also gives stakeholders the opportunity to make adjustments before larger production costs are involved.
This step helps reduce risk and improve confidence. It is much easier to solve a problem during prototyping than after hundreds or thousands of units are already in production.
Step 6: Manufacturing and Production
Once the prototype is approved, the display enters production. This stage includes fabrication, printing, finishing, assembly preparation, quality checks, and packaging based on the approved specifications.
Consistency is critical here. Every display must meet the same standards for structure, finish, branding, and functionality. Production teams need to ensure that the display performs as intended and that all components are prepared for shipping and final use.
A strong manufacturing process helps avoid costly delays, damage, and performance issues. It also helps support smoother execution across retail locations.
Step 7: Pack-Out, Logistics, and Rollout
The final stage is getting the display where it needs to go. This may involve flat-packing, kitting, pallet configuration, retailer-specific packing requirements, and logistics coordination for one location or many.
For larger retail programs, rollout planning is just as important as the display itself. Timing, shipping accuracy, and ease of assembly all affect whether a display program succeeds at store level.
A well-designed display should not only look good, but also arrive in good condition, be easy to set up, and perform reliably once installed.
Need a display that balances durability and cost?
Our semi-permanent POP displays are designed to elevate product presentation while supporting promotions that run for weeks or months. Let GAVI design a solution tailored to your brand and retail environment.
Final Thoughts
The process of developing a custom retail display involves much more than creative design. It requires clear objectives, thoughtful engineering, material expertise, prototyping, quality production, and dependable rollout planning.
When each stage is handled correctly, the result is a display that supports both the product and the brand in a real retail environment. For companies investing in point-of-purchase programs, understanding this process can lead to better collaboration, fewer surprises, and stronger results in-store.